My laptop as code: a DevOps approach to setting up my workstation
Why treat your laptop like infrastructure?
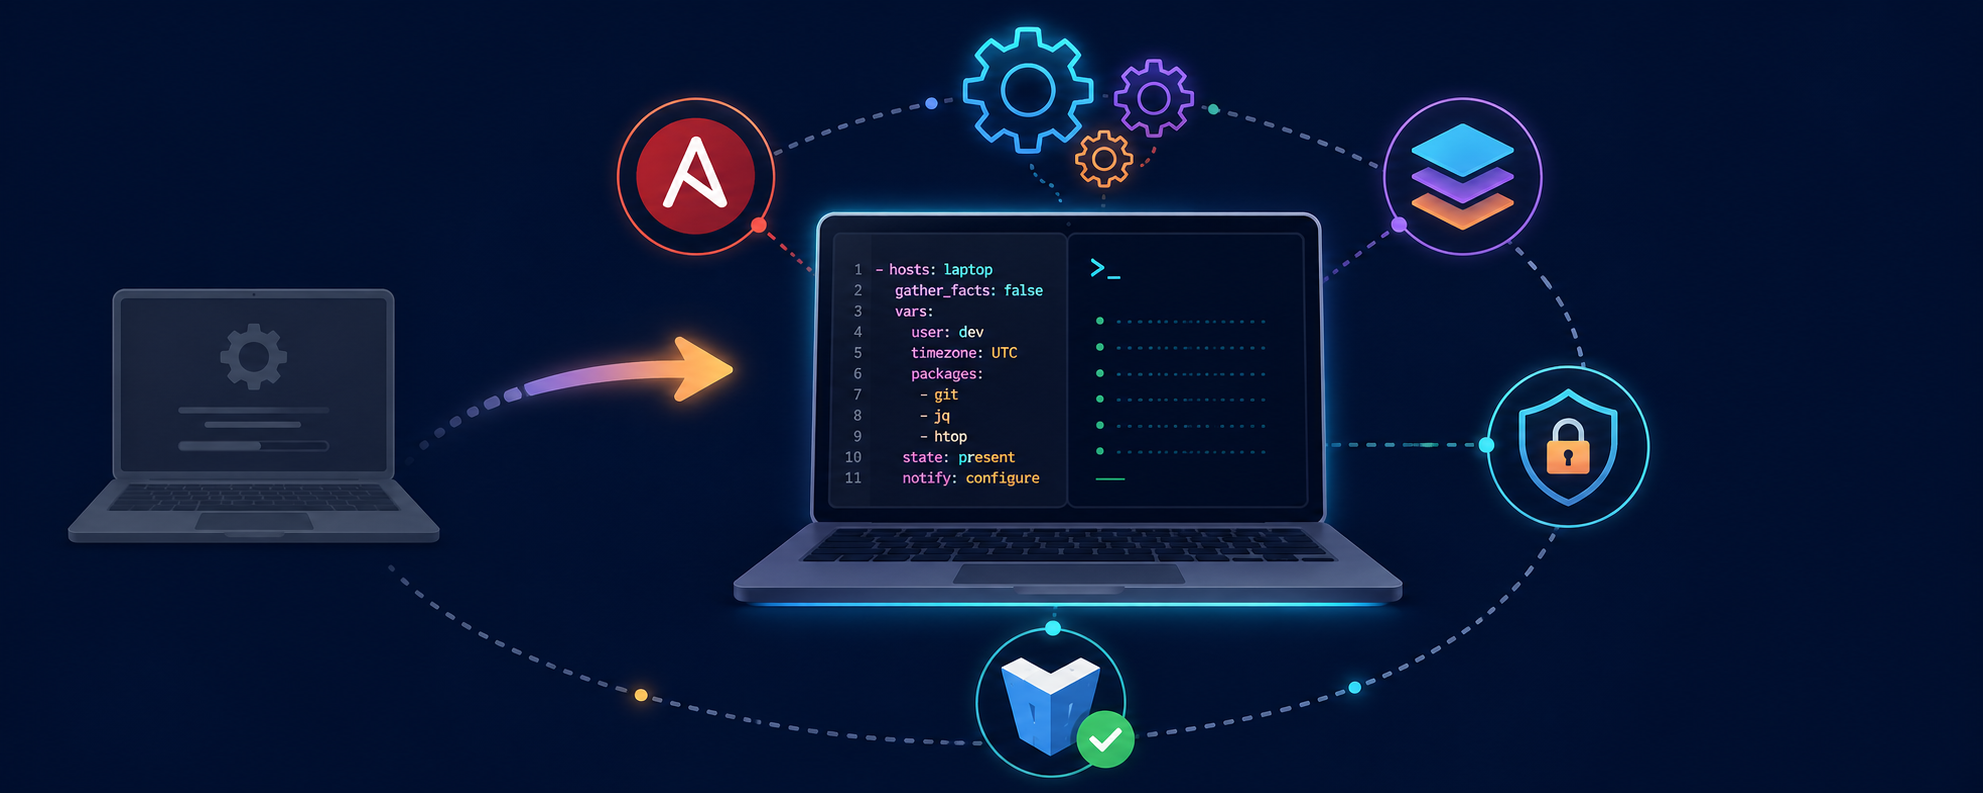
I switched laptops a while back, and what should have been a quiet day turned into yet another scavenger hunt: tracking down my aliases, the right kubectl version, re-adding apt repos, reconfiguring git, reinstalling mise and its TOML, rebuilding the Docker stack… The local-compute project I had published back then — a bash script that spun up a Python venv and ran a few Ansible playbooks — didn’t hold up anymore. Too fragile, untested, no proper role structure, no real secret management.
So I rewrote the whole thing, but this time applying the exact same principles I use on my homelab and at work: infrastructure as code, idempotency, centralised secret management, tests on a throwaway VM, blocking quality hooks. The result is TiPunchLabs/laptop-bootstrap — a project that takes a fresh Debian or Ubuntu and builds my workstation reproducibly, in a few minutes, without ever asking for a password.
The idea isn’t groundbreaking. It’s just applying DevOps discipline somewhere we usually don’t: our own laptop.
How is the project structured?
The repo is built around the usual Ansible building blocks, except everything is designed to be run locally on the machine being configured:
laptop-bootstrap/
├── ansible.cfg
├── inventory.yml             # localhost only
├── playbook.yml              # orchestrates the roles
├── Makefile                  # daily-use facade
├── pyproject.toml / uv.lock  # Python deps (uv)
├── .envrc                    # direnv: activates venv + vault password
├── .pre-commit-config.yaml   # blocking quality hooks
├── bin/
│   ├── local_laptop.sh       # low-level wrapper (legacy)
│   ├── ansible-vault-pass.sh # reads the password from pass
│   └── check_ansible_vault.sh# pre-commit: enforces encryption
├── group_vars/all/           # vars + encrypted vault
├── roles/
│   ├── bootstrap/            # entry point + vendor apt sources (deb822)
│   ├── cli_tools/            # all user-space CLIs via mise
│   ├── cleanup_legacy/       # evicts pre-mise installs
│   ├── docker/               # Docker engine + compose plugin
│   ├── git/                  # git configuration
│   ├── devtools/             # Postman, etc.
│   └── vagrant/              # vagrant + libvirt + vagrant-libvirt plugin
├── test/smoke/               # Vagrant harness to replay on a clean VM
└── docs/
    ├── guide-daily-usage.md
    ├── guide-smoke-test-vagrant.md
    └── adr/                  # Architecture Decision Records
Every role is tagged in the playbook, which lets me run a focused subset rather than re-applying everything:
make play                       # full playbook
make play-cli-tools             # only the cli_tools role
make play TAGS=docker,git       # any tag combination
No magic involved: Ansible is still Ansible, the Makefile is just a facade that turns common invocations into short, memorable commands.
The structural decision: every CLI tool through mise
For a long time, my command-line tools were installed via four different mechanisms: Ubuntu apt for fzf and direnv, third-party apt repos for terraform, kubectl, vagrant, upstream install scripts for starship and uv, and a manually unpacked binary for aws-cli v2. It worked, but it created four structural problems:
- Version drift —
aptships whatever Ubuntu packaged (often stale), install scripts always pull the latest, manual binaries freeze at install time. No single place answers “what versions of what are installed here”. - Ambiguous PATH — the same binary may live in
/usr/bin,/usr/local/bin, and~/.local/bin.which terraformbecomes unpredictable. - Cleanup cost — removing a tool means hunting down the right mechanism: apt repo file, GPG key, symlink, custom binary.
- Ansible boilerplate — every new tool re-implemented the same pattern: fetch the latest version from the GitHub API, compare, download, install.
I documented the migration in an ADR (ADR-0001) because this is exactly the kind of structural decision that deserves a written trace, even on a personal project. The decision: mise becomes the single manager for every user-space CLI tool, declared in ~/.config/mise/config.toml.
Managed by mise: uv, fzf, direnv, zoxide, eza, bat, chezmoi, starship, kubectl, terraform, awscli. The only exception is vagrant — it depends on the vagrant-libvirt plugin, which expects a system binary and libvirt group membership, so it stays on the HashiCorp apt repo.
The cli_tools role makes this idempotent: it installs mise once, drops the config.toml, runs mise install, and manages a marker-bounded block in ~/.bashrc for eval "$(mise activate bash)". A separate cleanup_legacy role uninstalls the pre-mise versions left over from the old approach.
The concrete payoff: mise upgrade updates everything at once, and mise ls gives me the full inventory in one command.
How I manage the Python venv for the project itself
laptop-bootstrap is itself a Python project: Ansible runs in a venv. Polluting the system with pip install ansible is out of the question — and so is making the user manage source .venv/bin/activate by hand.
I use uv for packaging and direnv for automatic activation. pyproject.toml declares the deps, uv.lock pins them, and the .envrc at the repo root handles the rest:
# .envrc (excerpt)
use venv
export ANSIBLE_VAULT_PASSWORD=$(pass ansible/vault)
Outcome: I cd laptop-bootstrap/, direnv activates the venv, exports the Vault password from pass, and I can run make play straight away. No manual source, no password to retype, no “I forgot to activate the venv”.
How I keep secrets out of the repo
The repo is public, and yet it carries a few sensitive bits (API URLs, install-time passwords, tokens). The strategy is three layers that work together:
- Ansible Vault encrypts sensitive variables in
group_vars/all/vault/main.yml(AES256). The file lives in the repo but is unreadable without the password. - pass stores that Vault password in the user’s GPG keyring. No cleartext on disk.
- direnv automatically loads
ANSIBLE_VAULT_PASSWORDfrom pass when I enter the project directory.
The check_ansible_vault.sh pre-commit hook checks on every commit that any vault file starts with $ANSIBLE_VAULT;... and is never in cleartext. If someone (myself included) tries to push a decrypted vault file, the commit is blocked.
make vault-edit    # opens the editor on the decrypted file, re-encrypts on save
make vault-view    # read-only
Pre-commit: non-negotiable quality
Nothing reaches main without going through the hook battery. Same reflex as at work: a pipeline that validates everything locally before the push.
# What pre-commit enforces
- yamllint, check-yaml, document-start
- shellcheck, shfmt
- ansible-lint
- terraform_fmt, terraform_validate, terraform_tflint
- flake8 (Python)
- check_ansible_vault.sh (custom hook)
- detect-private-key, trailing-whitespace, end-of-file-fixer
Two Makefile shortcuts:
make lint           # full battery on all files
make lint-ansible   # ansible-lint only, fast feedback while editing a role
The useful effect: it becomes impossible to push a misindented YAML, a bash script without set -e, an Ansible role with a non-idempotent command:, or a decrypted vault file.
Testing without breaking my actual laptop: Vagrant + libvirt
This is the part I’m happiest with. Editing an Ansible role and testing it directly on your own workstation is a really bad idea — when the role has a bug, you discover it by breaking your own work environment.
So the project ships a smoke-test harness in test/smoke/: a Vagrantfile that boots a clean Ubuntu VM via libvirt, rsyncs the repo into it, and replays the full playbook. Everything is driven from the Makefile:
make smoke-up                   # boot VM, install ansible, run playbook (~10 min first time)
make smoke-replay               # rsync code + replay
make smoke-replay TAGS=docker   # replay a single tag
make smoke-ssh                  # SSH into the VM for debugging
make smoke-down                 # destroy the VM
Concrete workflow: I edit a role, make smoke-replay validates it on the VM in two minutes, and once everything is green I run make play on the actual laptop with confidence. If I break something, the VM breaks — not my environment.
It’s the equivalent of having a staging environment for your laptop. Overkill? Maybe. But the cost of a broken workstation on a Monday morning before a meeting isn’t overkill.
Documenting decisions: ADRs even on a personal project
I’ve made a habit of writing an Architecture Decision Record as soon as a decision is structural and expensive to reverse. On this project, ADR-0001 documents the migration to mise: context, rejected alternatives, positive and negative consequences, migration plan.
Why bother on a personal project? Because future-me, six months from now, doesn’t remember today-me. When I reopen the repo a year from now to add a tool, I want the written trace to explain why vagrant is not in mise — otherwise I’ll repeat the mistake and tear my hair out over the libvirt plugin.
The repo itself is managed in Terraform
A small meta nod: the github-terraform/ folder contains the Terraform code that manages the GitHub repo settings — visibility, protected branches, review rules, Actions secrets. Same logic as my homelab: if it’s configurable, I’d rather code it than click around in a UI.
Migration and compatibility
For anyone coming from the old local-compute project (or a pre-mise version of laptop-bootstrap), there are two tags to chain in this order:
make play TAGS=cleanup-legacy   # uninstall the manually installed tools
make play TAGS=cli-tools        # reinstall cleanly via mise
exec bash                       # reload PATH to pick up the mise shims
Between the two, there’s a window of a few minutes where some tools (starship, direnv, uv, kubectl, terraform…) are temporarily missing. It’s documented loudly in the README to avoid panic.
What’s next?
The project is in a state where I rarely touch it — which is exactly the goal. A few directions in mind anyway:
chezmoito manage versioned dotfiles (vimrc, SSH configs, terminal themes) alongside mise for binaries.- More tests in the smoke harness: today I just check the playbook runs idempotently, I could add functional asserts (
kubectlresponds, Docker starts, and so on). - GitHub Actions to replay the smoke test automatically on every PR — currently it’s local-only.
- A
desktoprole for GNOME/KDE settings when I’m on a laptop with a UI (keyboard shortcuts, themes, extensions).
The repo is public under the MIT licence: TiPunchLabs/laptop-bootstrap. If you also script your own workstation with Ansible, I’d love to hear what different choices you made — the point isn’t “this is the right way”, it’s “here’s how I did it, and why”.